Have you ever obtained a brand new DJI Neo lately? If that’s the case you might need a couple of questions on setting the Neo up for its first flight.
On this article and video tutorial we might be contemplating the next:
- What’s within the numerous combos
- The Clever Flight Modes
- Charging the entire batteries
- Downloading and putting in the DJI Fly Software program
- Performing the primary Firmware Replace
If you’re both new to drones or skilled, you might need observed that the DJI Neo is exclusive within the DJI EcoSystem: you’ll be able to fly the Neo with no controller, with solely your cellphone, or with a DJI distant controller and DJI Goggles 3.
With so many points of the Neo that may be lined, at the moment we’ll concentrate on what is required to get the Neo out of the field and up within the air.
We’ll go into all the varied flight modes and methods to regulate the Neo in future movies.
Combos/Packages
Drone-only Package
- DJI Neo
- Clever Flight Battery x 1 – put in
- Spare propeller x 2
- Screwdriver
- USB-C charging and knowledge cable

DJI Neo Drone 4K UHD Mini Quadcopter
135g Self Flying Drone that Follows You, Palm Takeoff, AI Topic Monitoring, QuickShots, (Controller-Free) Bundle with Deco Gear Equipment
We earn a fee should you make a purchase order, at no further value to you.
02/26/2025 11:12 pm GMT
Combo Bundle
- DJI Neo
- Clever Flight Battery x 3
- Charging Hub
- Spare propeller x 2
- Screwdriver
- USB-C charging and knowledge cable
Our Decide
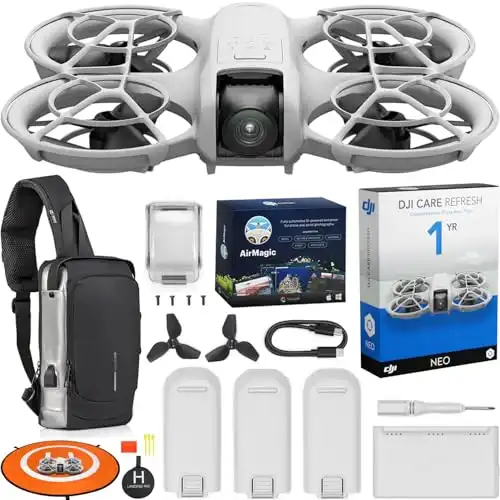
DJI RC-N3 Combo Bundle
- DJI Neo
- DJI RC-N3 Distant Controller
- Clever Flight Battery x 3
- Charging Hub
- Spare propeller x 2
- Screwdriver
- USB-C charging and knowledge cable
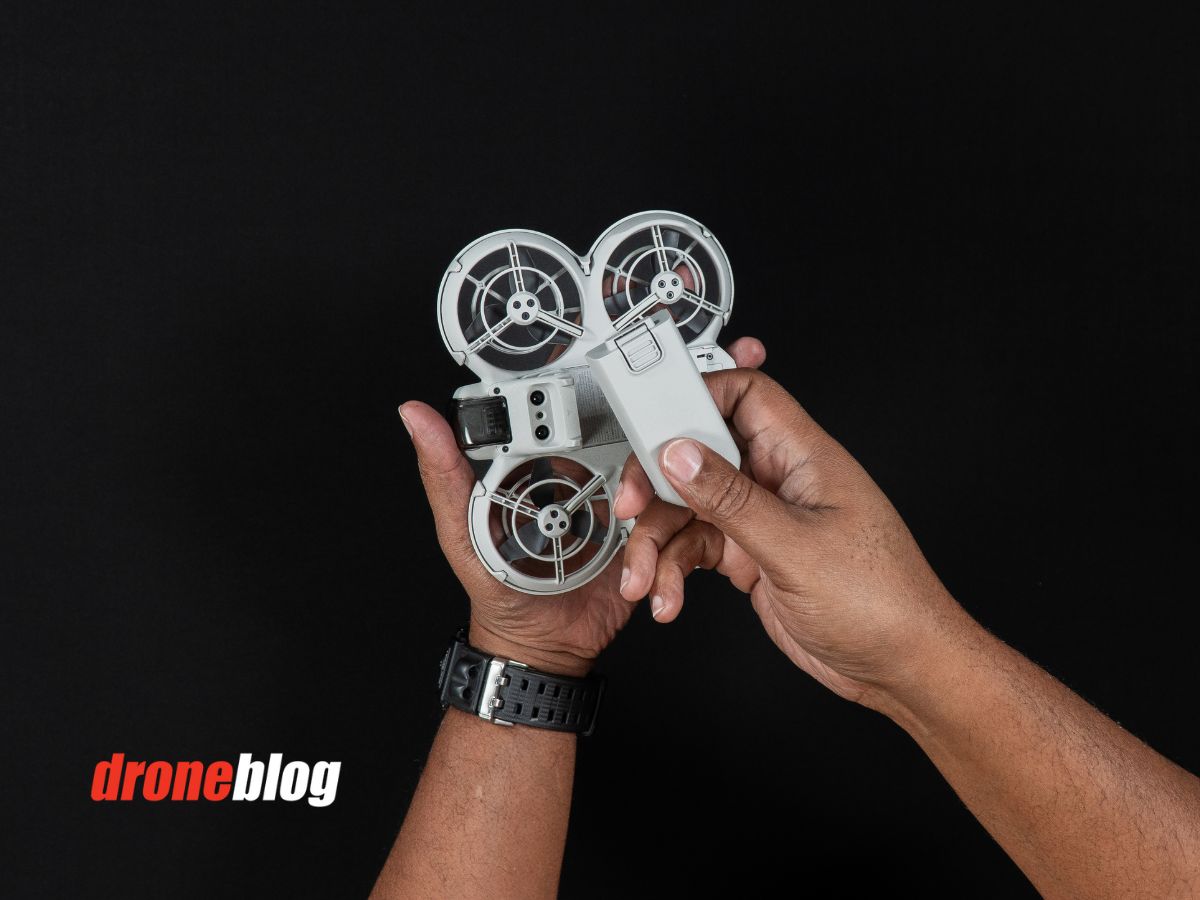
The DJI Neo
Trying on the Neo, we see it’s fairly small in hand and may be very light-weight.

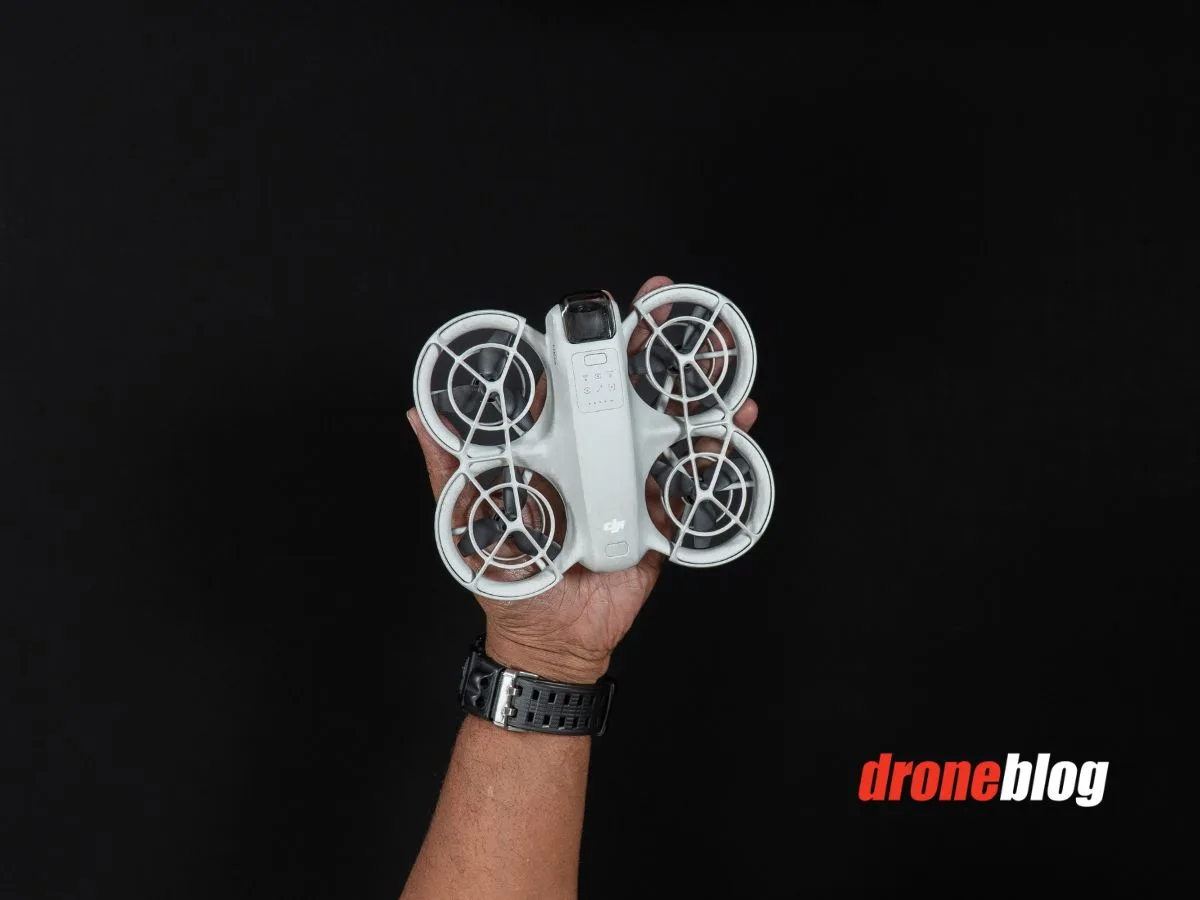
Beginning with the entrance, a small gimbal guard protects the Neo’s single-axis gimbal.
Not like conventional digicam drones, which typically have three-axis gimbals, the single-axis gimbal on the Neo is electronically stabilized.
The stabilization on the DJI Neo is much like that of DJI’s motion cameras, which make the most of DJI’s proprietary EIS (Digital Picture Stabilization) expertise.
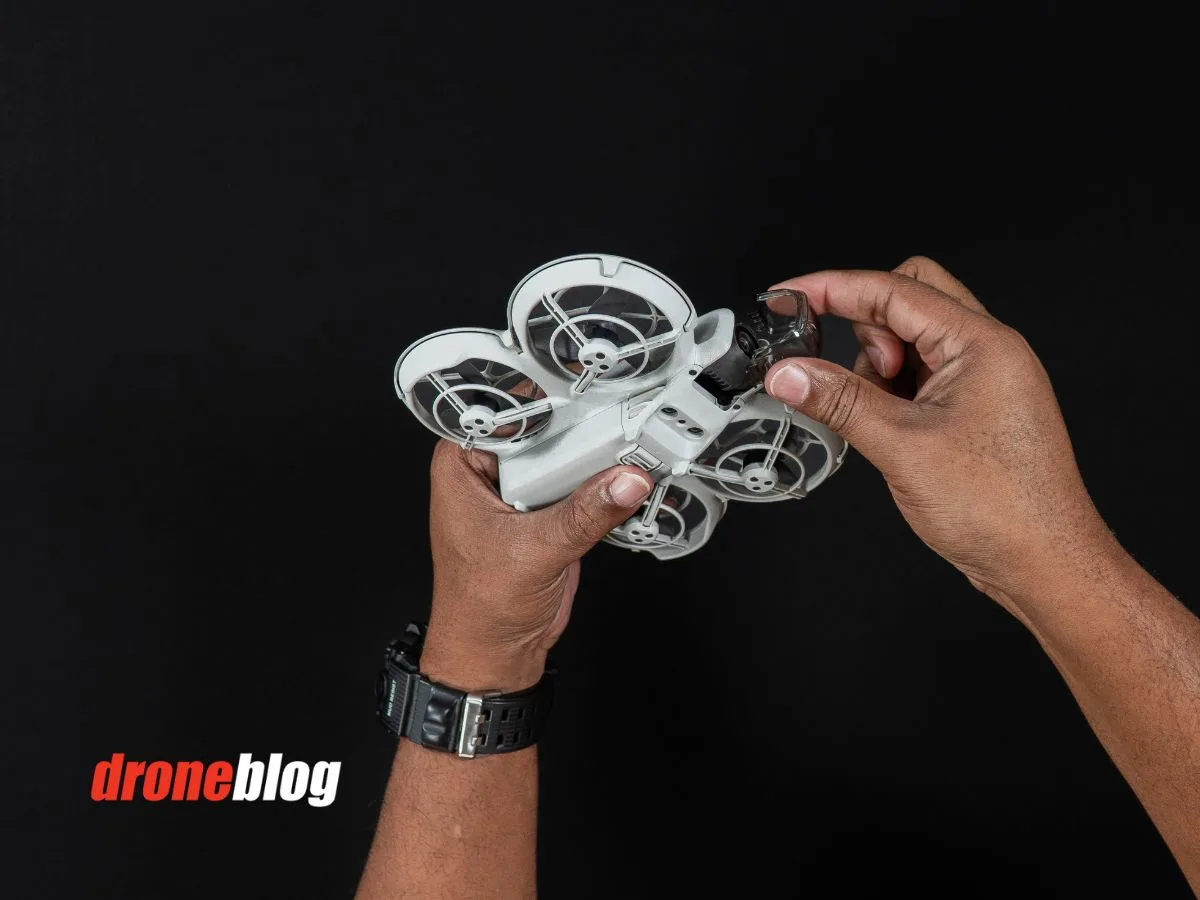
To take away the gimbal cowl, merely press down on the quilt with 2 fingers and pull the quilt off.

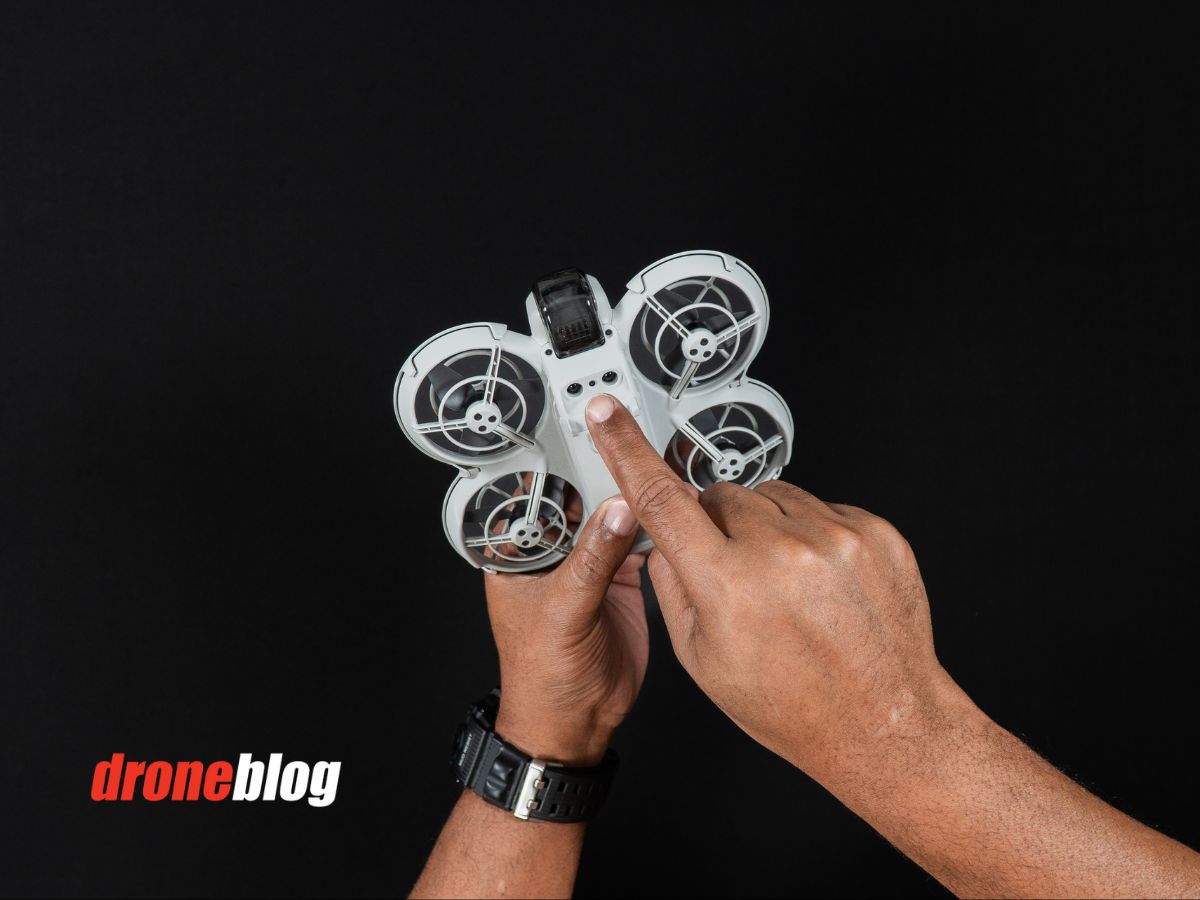
Persevering with across the drone, we see two buttons: one on the rear and one in the direction of the entrance. The button in the direction of the entrance is used to decide on the varied autonomous flight modes.
The DJI Neo clever flight modes are:
- Observe Me
- Dronie
- Circle
- Rocket
- Highlight
- Customized – this permits the person to outline precisely what the flight mode does
To decide on the flight mode, press the choice button till you find your required mode.
The button on the rear of the Neo is dual-purpose: it turns the Neo on and off and can also be used to pair the Neo with a bodily distant management.
To energy on the Neo, press the ability button as soon as then maintain it, you’ll hear an audible tone and see the LED mild up. To show the Neo off, you’d press the ability button as soon as after which maintain it.
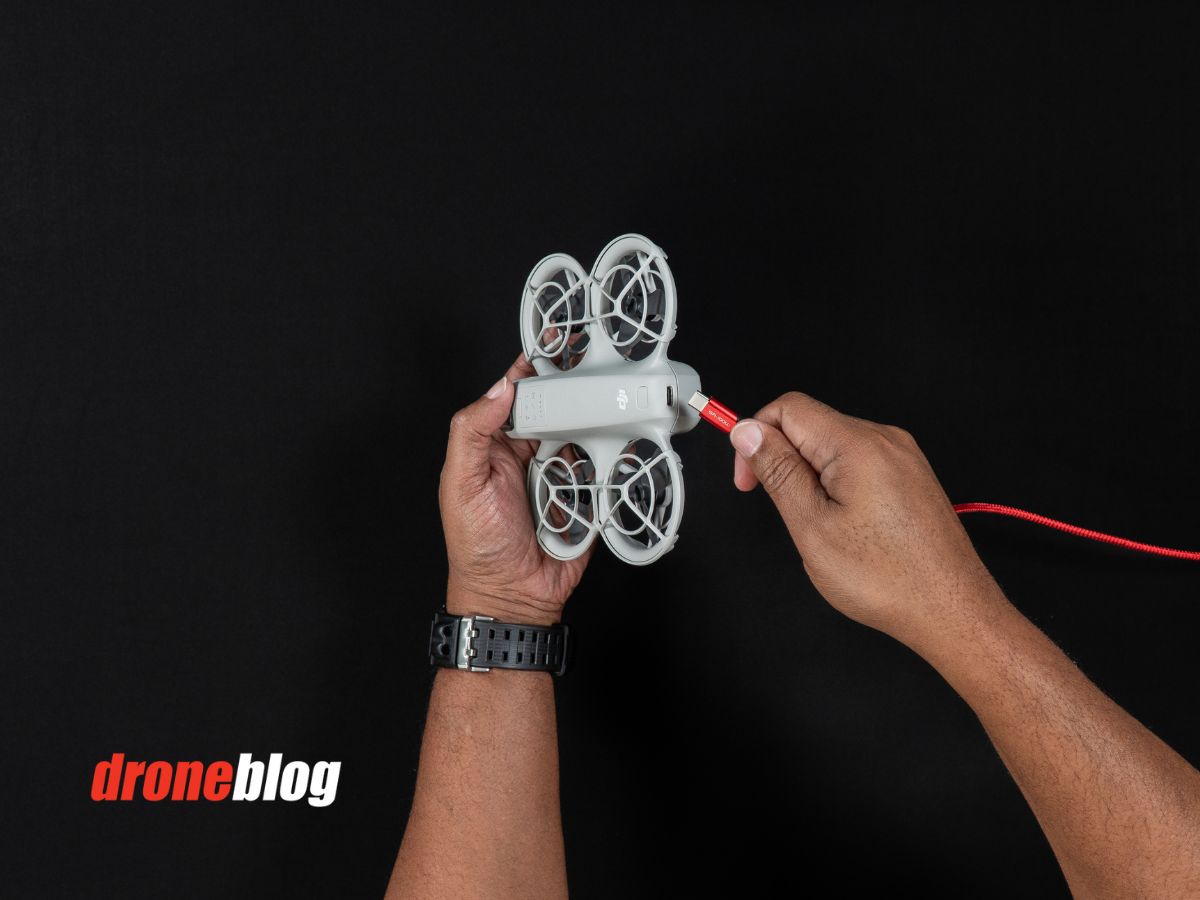
Beneath the ability button on the again, there’s a USB-C port that can be utilized to:
- cost the battery when put in within the Neo
- replace the Neo’s firmware, utilizing the provided knowledge and charging cable – which we’ll focus on additional on this article, and
- switch footage from the interior storage to a pc or cellular gadget
Concerning inside storage, you’ll discover there is no such thing as a SD card slot on the Neo.
It is because, just like the non-Professional variations of DJI’s Mini drones, the Neo doesn’t use Micro SD playing cards. All footage from the Neo is saved on 22 GB of inside storage.
Fortunately, along with accessing the footage from a PC or Mac, footage might be wirelessly transferred to a cellular gadget utilizing DJI’s QuickTransfer characteristic.
Sensors
On the backside of the Neo, there are infrared imaginative and prescient sensors. These sensors assist the Neo stay steady and keep a gentle hover.

Though the Neo does an incredible job monitoring topics, it doesn’t have impediment avoidance sensors. The shortage of those sensors may end up in a crash if flying near obstacles.
Clever Flight Batteries
The clever flight batteries present the Neo with as much as 17 minutes of flight time, with the prop guards put in.

If the propeller guards are eliminated, the flight time will increase to 18 minutes. In fact, flight occasions will fluctuate primarily based on precise flight situations.
To take away the battery, press the tab and slide out the battery. To place the battery again in, align the grooves on the battery with these on the Neo and slide the battery in. You’ll hear a click on when the battery sits appropriately.
To Cost the Batteries
There are two alternative ways to cost the Neo’s batteries.
Sadly, as with most of DJIs latest drones, a wall charger isn’t included. Whereas DJI suggests utilizing their 65-watt charger, we’ve discovered that any 65-watt and even 100-watt PD charger’s will work effectively.
When you have the Drone Solely package, you have to to cost the battery whereas it’s inserted into the Neo.
To cost the only battery throughout the Neo, find the USB-C port on the rear of the Neo. Plug the provided USB-C charging cable into the port after which into your charger.

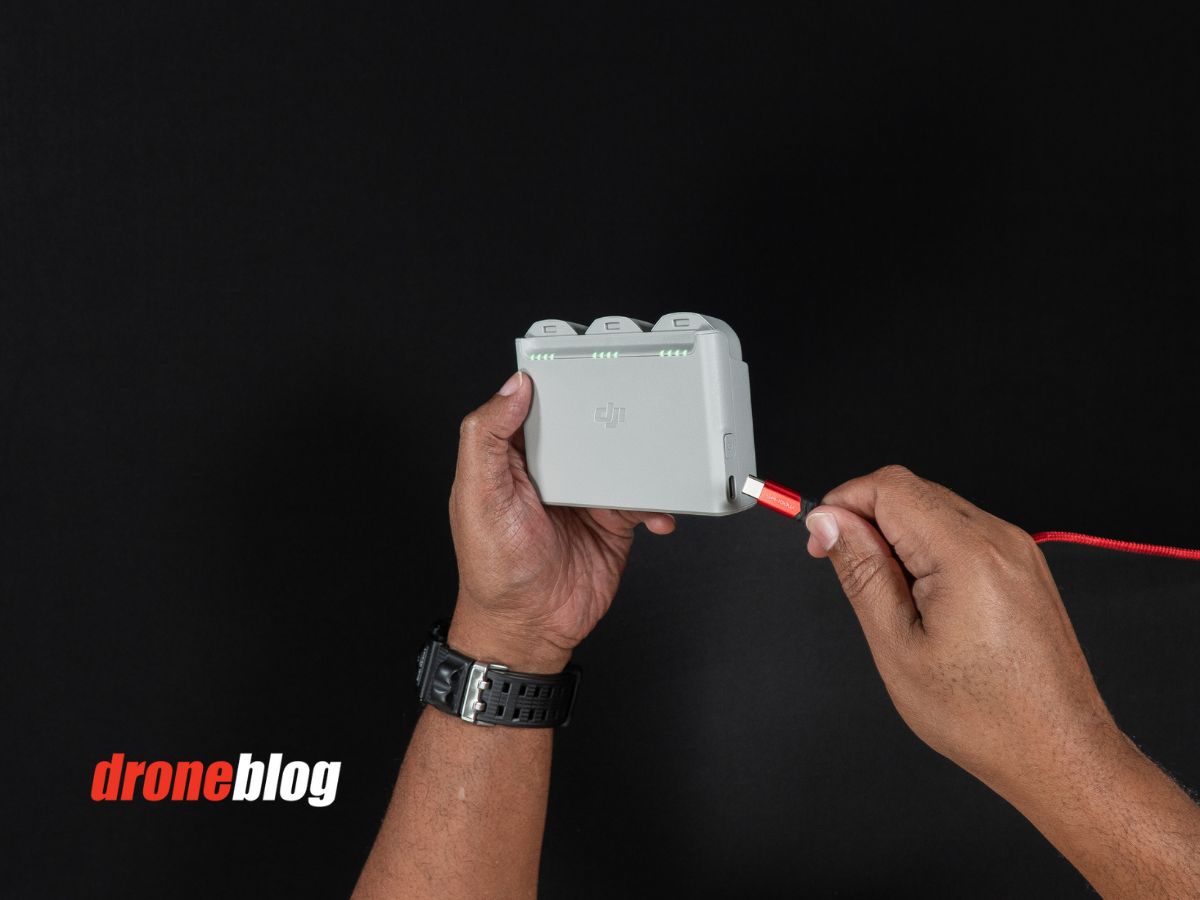
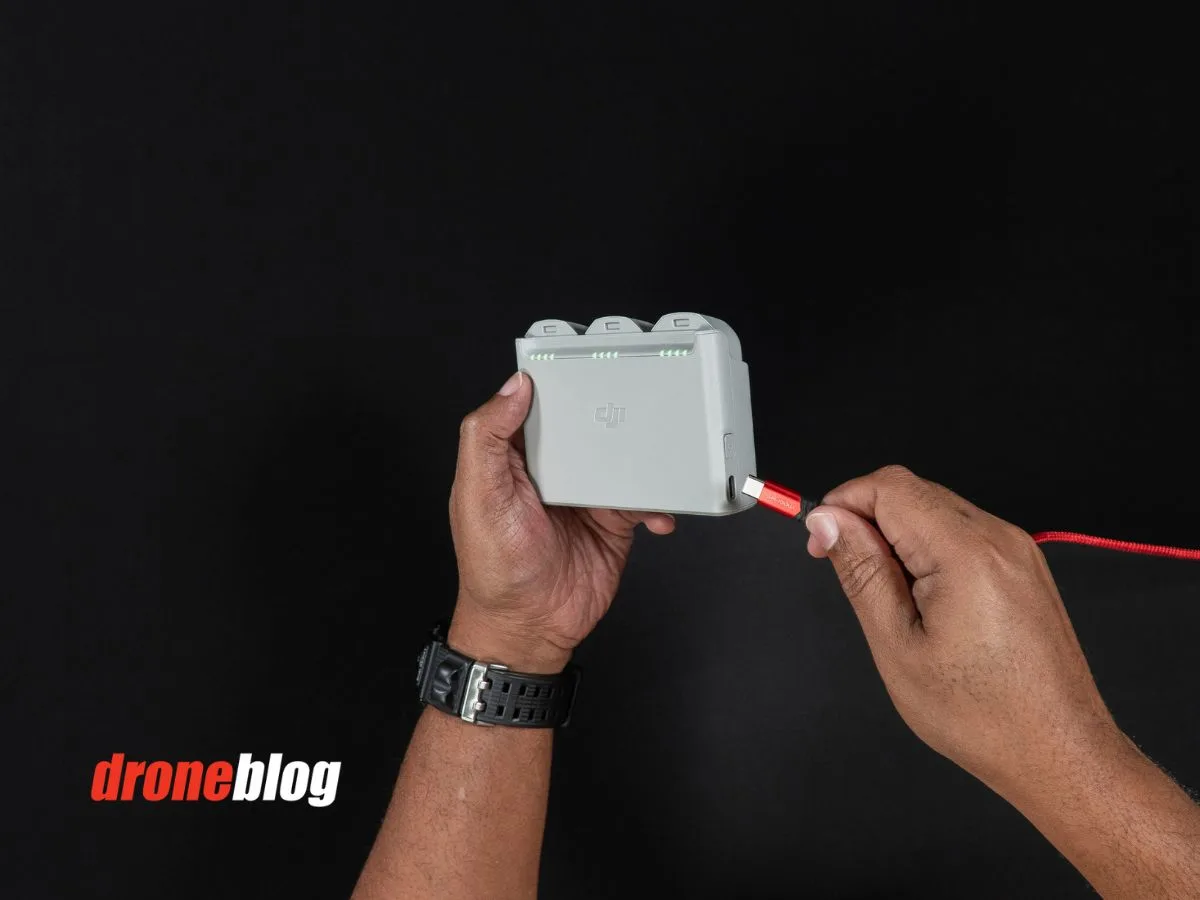
When you have both of the Combo Packages, with the three batteries and battery hub, it is possible for you to to cost all three batteries, concurrently, within the hub. This may be accomplished with any charger rated 45 watts or increased.
To examine how a lot battery energy is left within the batteries, whereas within the charging hub, press the ability button on the aspect of the hub.
To cost the batteries throughout the battery hub, guarantee they’re totally seated within the hub. Plug the charger into an outlet after which plug within the provided USB-C cable into the hub. After a second you will note the batteries start to cost.
For those who opted for the combo with the RC-N3 distant controller, additionally, you will must cost the RC.
To cost the RC-N3 Distant Controller, find the USB-C port on the underside of the controller and plug it in.
When charging begins, the LEDs on the entrance of the distant controller will start to blink, signifying charging.
DJI Fly Software program
With the entire batteries charged and able to go, there’s a essential step wanted to start out flying the Neo.
Sure, the Neo is exclusive in that it doesn’t want a controller or a cellphone to fly, nevertheless, to fly the Neo, you have to to activate it and replace the firmware, utilizing your cellphone.
To do that, you have to to have the DJI Fly app put in in your cellphone.
If utilizing an iPhone, you’ll be able to seek for the DJI Fly app within the Apple App Retailer.
The DJI Fly app for Android is simply out there on-line on DJI’s website.
The place to Obtain DJI Fly
If you’re utilizing both an Android or iOS cellphone, the hyperlinks to obtain the DJI Fly app are as follows:
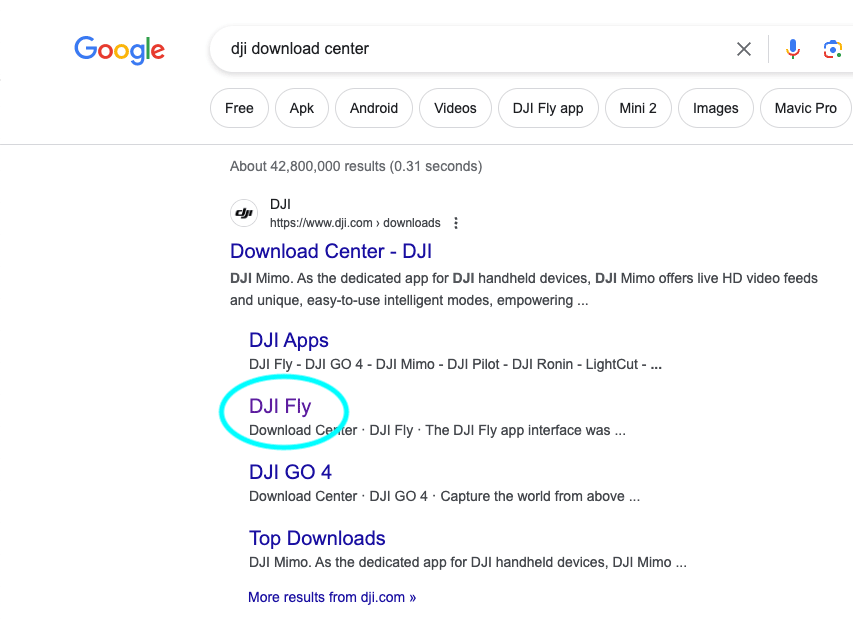
Moreover, out of your smartphone, you are able to do a Google Seek for “DJI Obtain Heart”.
Within the outcomes, select DJI Fly and you’ll be dropped at the software program downloads web page.
Observe: the DJI Fly app for Android is simply out there on-line on the hyperlink above, and is now not out there within the Google Play retailer, whereas the iOS model for Apple gadgets is accessible through the App Retailer.
Activating the DJI Neo
STEP 1: After you’ve put in the DJI Fly app, open DJI Fly. Subsequent activate the Neo by urgent the ability button as soon as, then holding the ability button.
STEP 2: On the left of the primary DJI Fly house display, you will note a glowing define across the message: “QuickTransfer – New DJI-NEO-xxxx detected”. Faucet that field.
The Neo will now begin the method of connecting to the DJY Fly app, through WiFi.
STEP 3: Press and maintain the ability button on the Neo for 3 seconds. After a couple of seconds, you need to be offered with the choice to affix the Neo’s WiFi community. – press JOIN.
After a couple of seconds, the Neo might be paired with the DJI Fly app.
STEP 4: On the Activate DJI Gadget display, select ACTIVATE. At this level both log in together with your DJI account in case you have one or create a brand new account.
As soon as logged in, the Neo will start activating. You’ll be able to both select to Bind the Activation code or SKIP. After you make your alternative, you’ll be introduced again to the primary DJI Fly house display.
Updating the Neo Firmware
At this level, you have to to replace the brand new Neo Firmware.
On the fundamental DJI Fly house display, select INSTALL (on the fitting aspect of the display) to start the method. Faucet DOWNLOAD and the brand new firmware will start putting in on the Neo.


The method can take a couple of minutes to finish. After 100% completion, the firmware might be totally put in.
In case your Neo doesn’t robotically restart after the firmware has been up to date, flip the Neo again on, then faucet CONNECT on the primary display.
You’ll then be introduced into the Neo part of DJI fly the place you’ll be able to both watch a couple of getting began tutorials or skip to the primary web page with choices to alter the parameters of the varied clever flight modes.